Thursday, December 2, 2010

Making Construction Paper Ornaments {for kids}

{Note: I have been in no way compensated by Disney's Family Fun Magazine. The reviews and opinions expressed are simply my own!}

I love to craft, but I especially love to get crafty with my kids! I subscribed earlier this year to Disney's Family Fun Magazine. It has all sorts of fun craft ideas as well as recipes for kids. I love this magazine. It has been a life-saver for this stay-at-home mom!

In their latest issue, {December/January 2011},  I came across this craft for making ornaments that I knew my 3 1/2 year old daughter would simply love. {and I knew it was easy enough for her to enjoy!}

Here are my own step-by-step directions: {the magazine makes stars, but I decided to make snowflakes, snowmen, and Christmas Trees. You can honestly make whatever you want with whatever shaped cookie cutters you have available! :) }

Homemade-Paper Ornaments


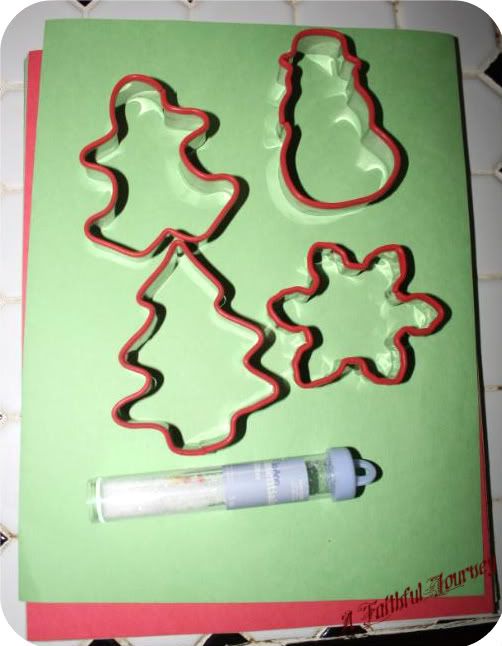
You will need Construction Paper, Cookie Cutters, Glitter, Ribbon, Glue, a Blender, and a Baking Sheet.
Photobucket
Some of our supplies
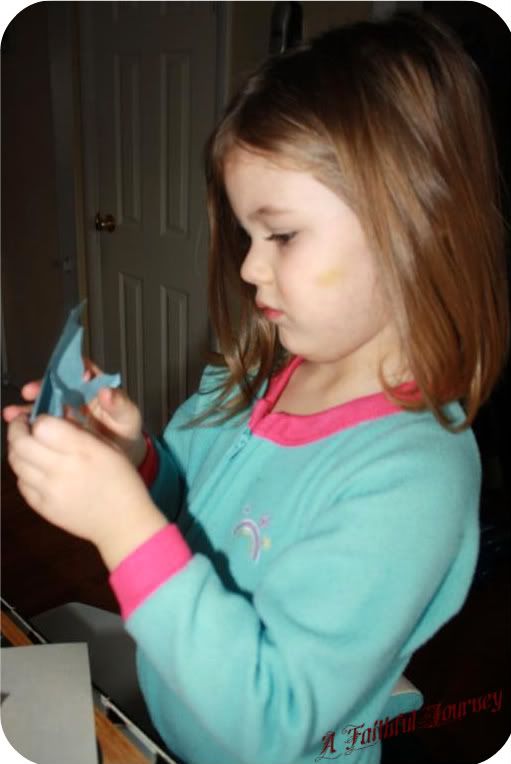
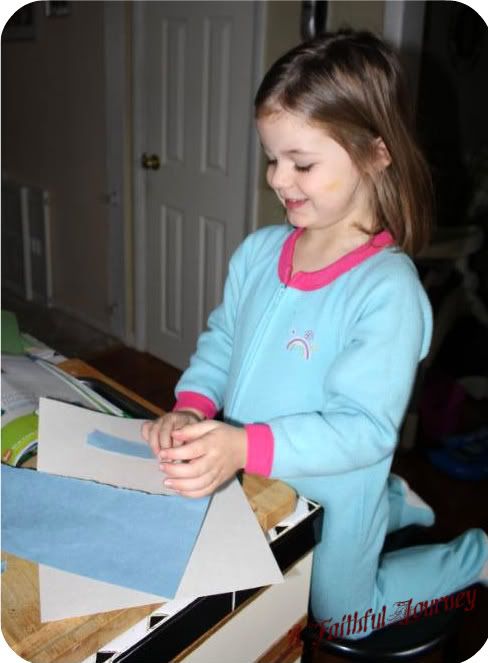
First you need to gather three sheets of construction paper, {we used two sheets of blue and one sheet of white for the snowflakes}, and tear them into domino sized pieces. {kids will love this part!}

Photobucket

Photobucket

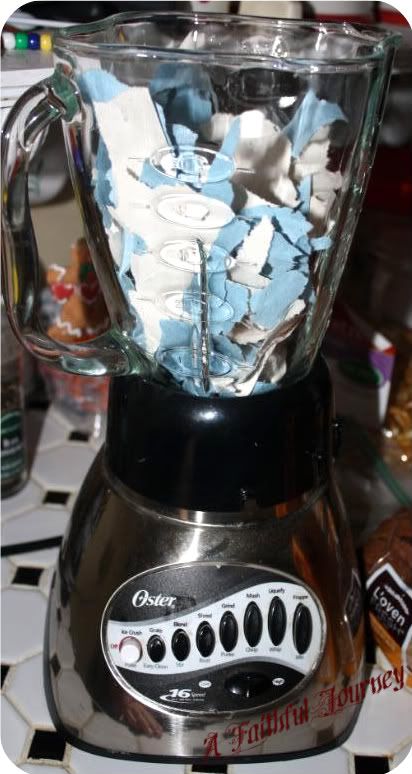
Once you get the Construction Paper all torn up, you then want to place it into your blender.

Photobucket

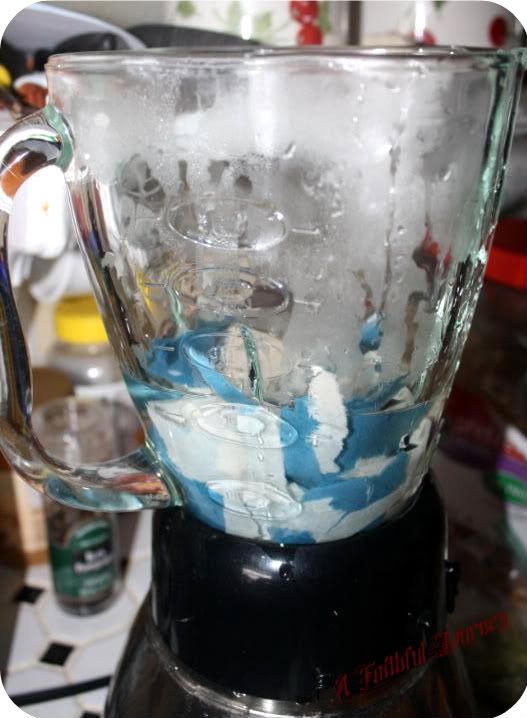
Next, you want to take 1 1/2 cups of very hot water and pour it into the blender with the construction paper and let it sit for 5 minutes.

Photobucket


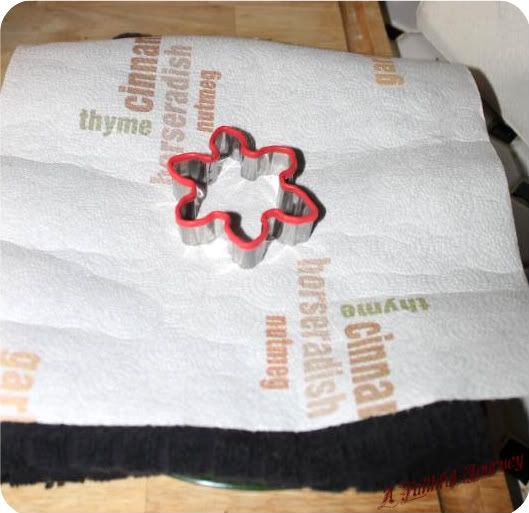
While you wait, take a plate and line it with a folded coth towel and top it with a paper towel. Then add whichever cookie cutter you choose to use first.

Photobucket

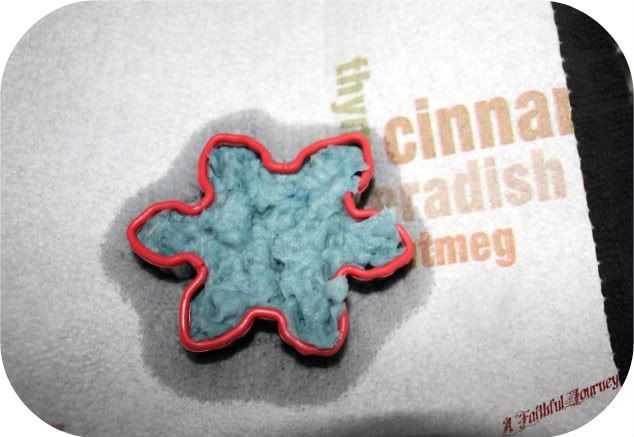
Heat the oven to 200 degrees. Pulse the blender until the mixture is pulpy, about 30 seconds. In a strainer set over the sink, drain the pulp, then spoon some into the cookie cutter filling it to the top. Make sure to fill in every point of your cookie cutter.

Photobucket

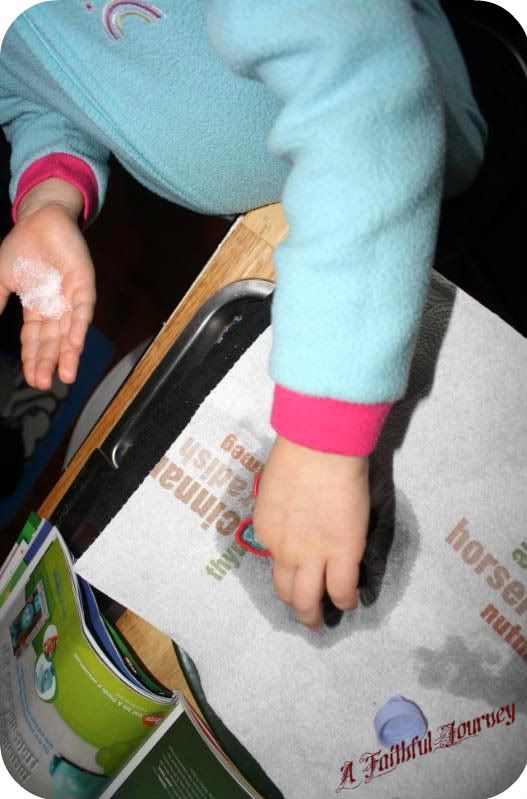
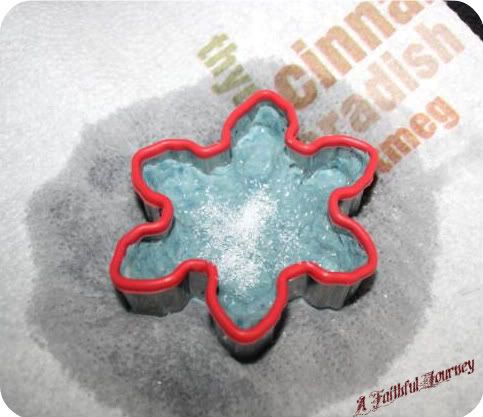
Next, add the glitter to make your ornament shiny against the Christmas Tree lights!

Photobucket

Photobucket

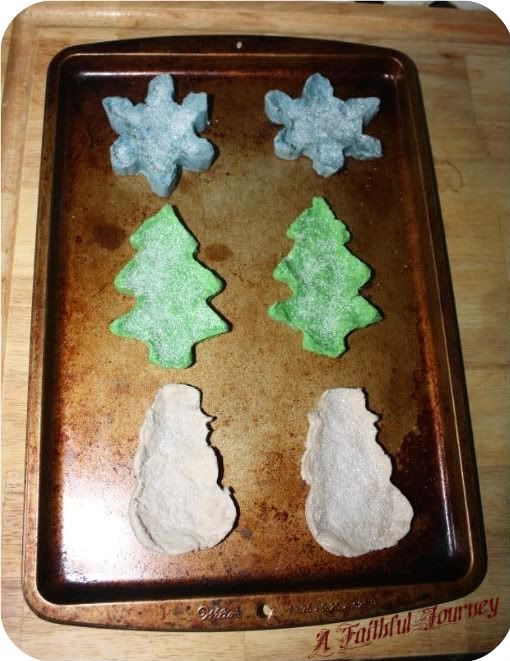
Gently press the ornament out of the cookie cutter and place onto the baking sheet. Repeat to make the next ornament.

Photobucket

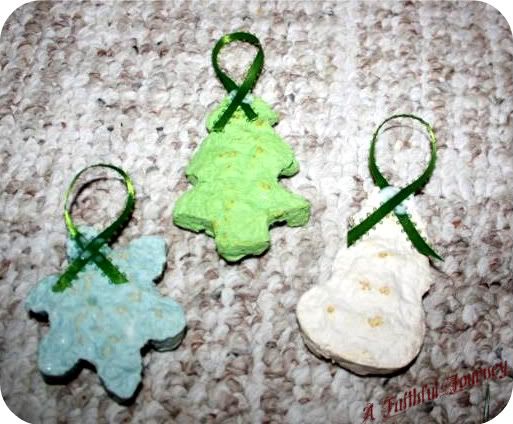
Bake them for 2 hours or until the moisture has evaporated {they should be firm and lightweight}. Let the ornaments cool, then glue on ribbon loops to the backs for hanging!

Photobucket

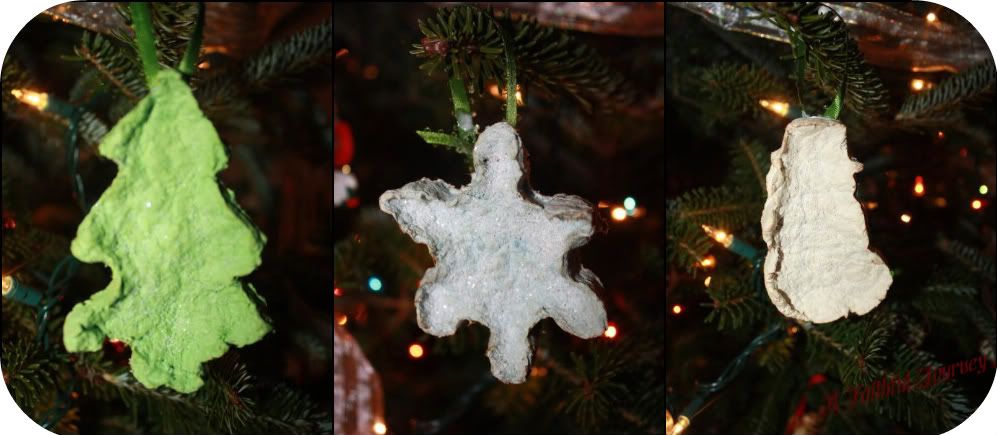
And that's it! You made cute ornaments with your kids that look great on the Christmas Tree! {and I know you had fun doing it!}

Photobucket

What types of crafts do you do with your kids during the Christmas Season?


Amy
For to us a child is born, to us a son is given, and the government will be on his shoulders. And he will be called Wonderful Counselor, Mighty God, Everlasting Father, Prince of Peace. ~ Isaiah 9:6

6 comments:

  1. Now that is neat!!! I will have to try those next year!!

    ReplyDelete
  2. Wonderful ornaments and darling little ones

    ReplyDelete
  3. they turned out great I don't have a blender I wonder if a food processor would work?

    ReplyDelete
  4. That looks like lots of fun! I had no idea you could do that with paper!

    ReplyDelete
  5. Fortunately, this is not just for kids! I love this idea and will attempt it today - it is similar enough to making paper (well, it is paper mache, after all, right?) and I love paper. And Christmas! And might just paint mine after they dry!

    BTW, I love the header of your blog. So glad I stopped here. Happy Happy Holidays to you and yours!

    ReplyDelete
  6. how fun thank you for the cute craft. I have some big kids that I think would enjoy this craft.

    ReplyDelete

I love hearing from my readers! Thanks for stopping by and saying "Hi"!

Related Posts Plugin for WordPress, Blogger...
myfreecopyright.com registered & protected